Complete installation, permissions, and first launch in 5 minutes
Quick Start
First-launch flow
This is the standard onboarding path before real interview use. Most users can finish it in about 5 minutes.
Follow these 4 steps to complete installation, permissions, sign-in, and a quick self-check.
What to confirm right away
Installation completes cleanly
Download the correct build for your platform and finish the installer before troubleshooting anything else.
macOS permissions are granted
Accessibility is the key permission on macOS. If it is skipped, desktop interaction and hotkeys can behave unexpectedly.
Sign-in succeeds
Complete account verification first so the toolbar and interview workflows are available immediately after launch.
One real self-check runs
Do one screenshot or voice rehearsal before the real interview instead of discovering setup issues live.
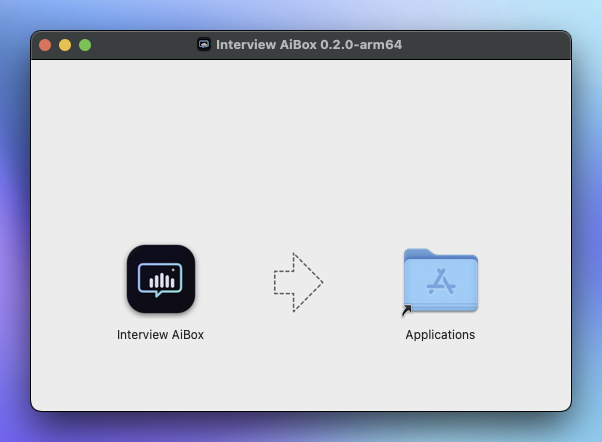
Step 1: Download and install
Go to Download, choose your platform, and complete installation.
- macOS: first launch usually triggers system permission prompts.
- Windows: if installation is blocked, check security software or enterprise policy first.
Step 2: Complete system permissions (macOS focus)
macOS
When prompted, enable Accessibility permission for Interview AiBox:
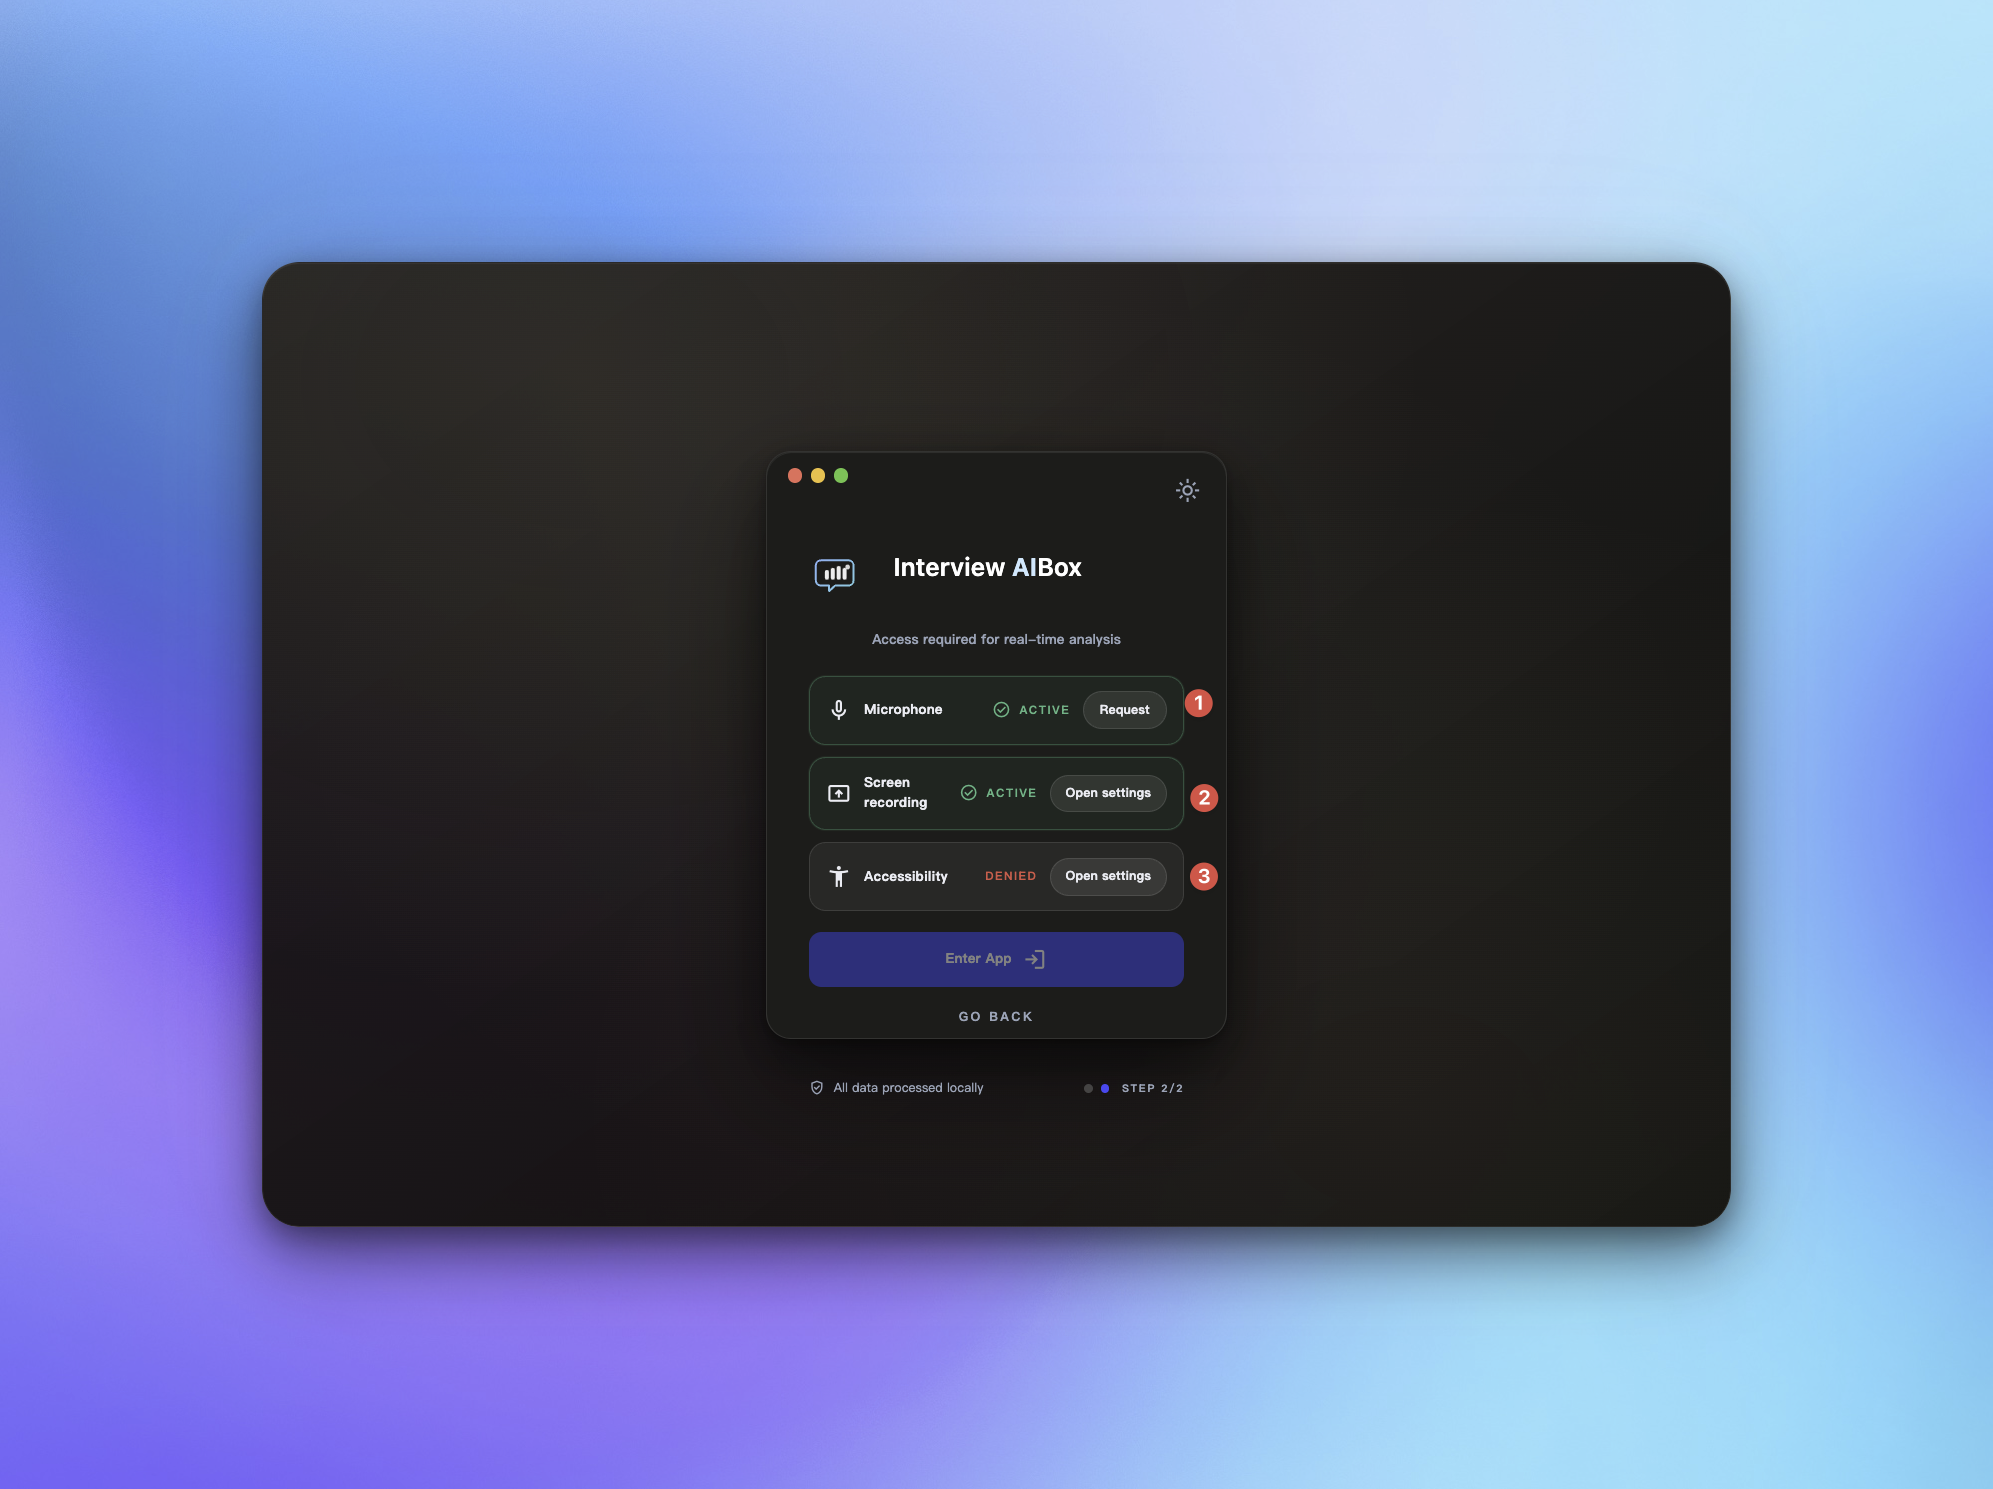
- Click “Open System Settings”
- Find
Interview AiBoxunder Accessibility - Turn it on and return to the app
If you see additional permission prompts, complete them in sequence and restart the app once.
Important on macOS
If Accessibility was granted but behavior still feels wrong, restart the app once before trying deeper troubleshooting. After system upgrades, reinstall, or moving the app to a new location, you may need to authorize it again.
Windows
Windows usually does not require extra system permissions. Continue to sign-in.
Step 3: Sign in and confirm toolbar
If you are not signed in, click “Sign in” and complete account verification.
After successful sign-in, the floating toolbar appears at the top of your screen.

The toolbar is your main entry point for screenshot, voice, knowledge base, and settings.
Step 4: Pre-launch self-check (recommended)
Before formal use, run one short self-check:
Confirm the toolbar is visible
Make sure the floating toolbar appears at the top-left corner and can open Settings normally.
Trigger one real workflow
Run one screenshot or one voice flow so you know your core shortcut path is working before the real interview. For voice, use the same headphones, microphone, and meeting audio route you plan to use later.
Rehearse in a realistic environment
Use the same hardware, meeting software, sharing setup, and shortcut habits that you plan to use later.
Switch to troubleshooting early if needed
If anything feels off, go to Troubleshooting before the interview starts.
Do not skip this
The fastest way to avoid live surprises is one complete rehearsal. If you are nervous about sharing behavior or permission state, run a practice round in self-check tools or a test meeting first.
Common issues (short)
- Cannot sign in: check network and account status, then restart client
- Permission still not effective: verify system permission state and restart app
- Voice transcript is noisy: rehearse with headphones first, then re-check the input source
- Unexpected behavior during screen sharing: validate end-to-end in a test meeting first
AI Reading Assistant
Send to your preferred AI
Smart Summary
Deep Analysis
Key Topics
Insights